PROJECT BAG WIP
Remember these from my previous post?
Little grannies consisting of three rounds, crocheted on a 3.5mm hook, using Stylecraft Special DK, made some time ago. I believe I was going to crochet them into a scarf, but got side tracked by another project. The idea of the scarf has lost it's allure, so the decision was made to turn them into a little project bag for my impending sock knitting adventure. I know the word 'impending' has overtones of something unpleasant, and I do have a strange feeling that my urge to knit socks may not go as smoothly as I'd like.
I will not be deterred however - I'm soldiering on with great enthusiasm, well on the bag anyway.
My tension was a bit tight joining my grannies, but actually I quite like the slight 'waffle' effect. I also must really learn the 'join as you go' method with granny squares, it's got to be easier than sitting with a pile of the little blighters and then having to stitch them all together. Perhaps that's why I was tense!
I chose this lovely fabric to line my bag as the colours perfectly matched those of my granny squares.
Unfortunately, once I'd measured all the dimensions for the lining, there wasn't enough fabric...insert rude words here!
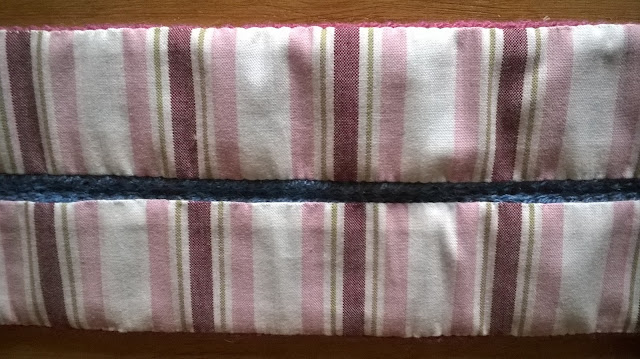
All was not lost as I found some striped fabric in my stash that would do just as well (no not really, but I have to tell myself this).
The bag consists of two panels of 16 granny squares. The sides consist of 4 grannies per side and four for the bottom. The finished bag has rows of single crochet (UK) to raise the height. The handles are single crochet (UK) using two shades of pink and two shades of green. I can't remember how many chains I used, just made the length I liked. I then single crocheted in the second stitch from the hook, single crochet in each stitch to the end of the chain, turned my work, chained one and then single crocheted into every stitch to the end and repeated this until my rows were the thickness I wanted for my handles.
I decided to line the handles and was quite pleased with my hand stitching. There is something very soothing about hand stitching, which is why I'm now toying with the idea of embroidery....after mastering stock knitting of course!
Made the lining.
I've never lined a bag in this way before, it works really well. I found this really good tutorial.
Being a bit of a numpty, I forgot to sew in a pocket before putting the lining together. I machined the edges of the pocket, but had to hand sew it to the lining. I thought the stripes on the pocket going in the opposite direction to the lining might look better. I know, who looks that hard at the inside of a project bag! I DO!
Well, I somehow made my lining a little too tall and could realistically only fold it over twice before stitching it into the bag. Just as well really because I was dithering on whether to put a border around the top of the bag. I liked the slightly scalloped effect of my over-tight granny squares but the lining decided it. A few rows of single crochet were added to make it taller.
I pinned, then slip stitched the handles to the inside of the bag.
I slipped the lining into the bag and hand stitched it in place.
 |
| Mmmm....crumply insides of bag....Why? |
So happy with this little bag! Now to decide what to do with the bunch of Maybelle and solid granny squares that are sitting in my cupboard. Any suggestions?


Comments
Post a Comment